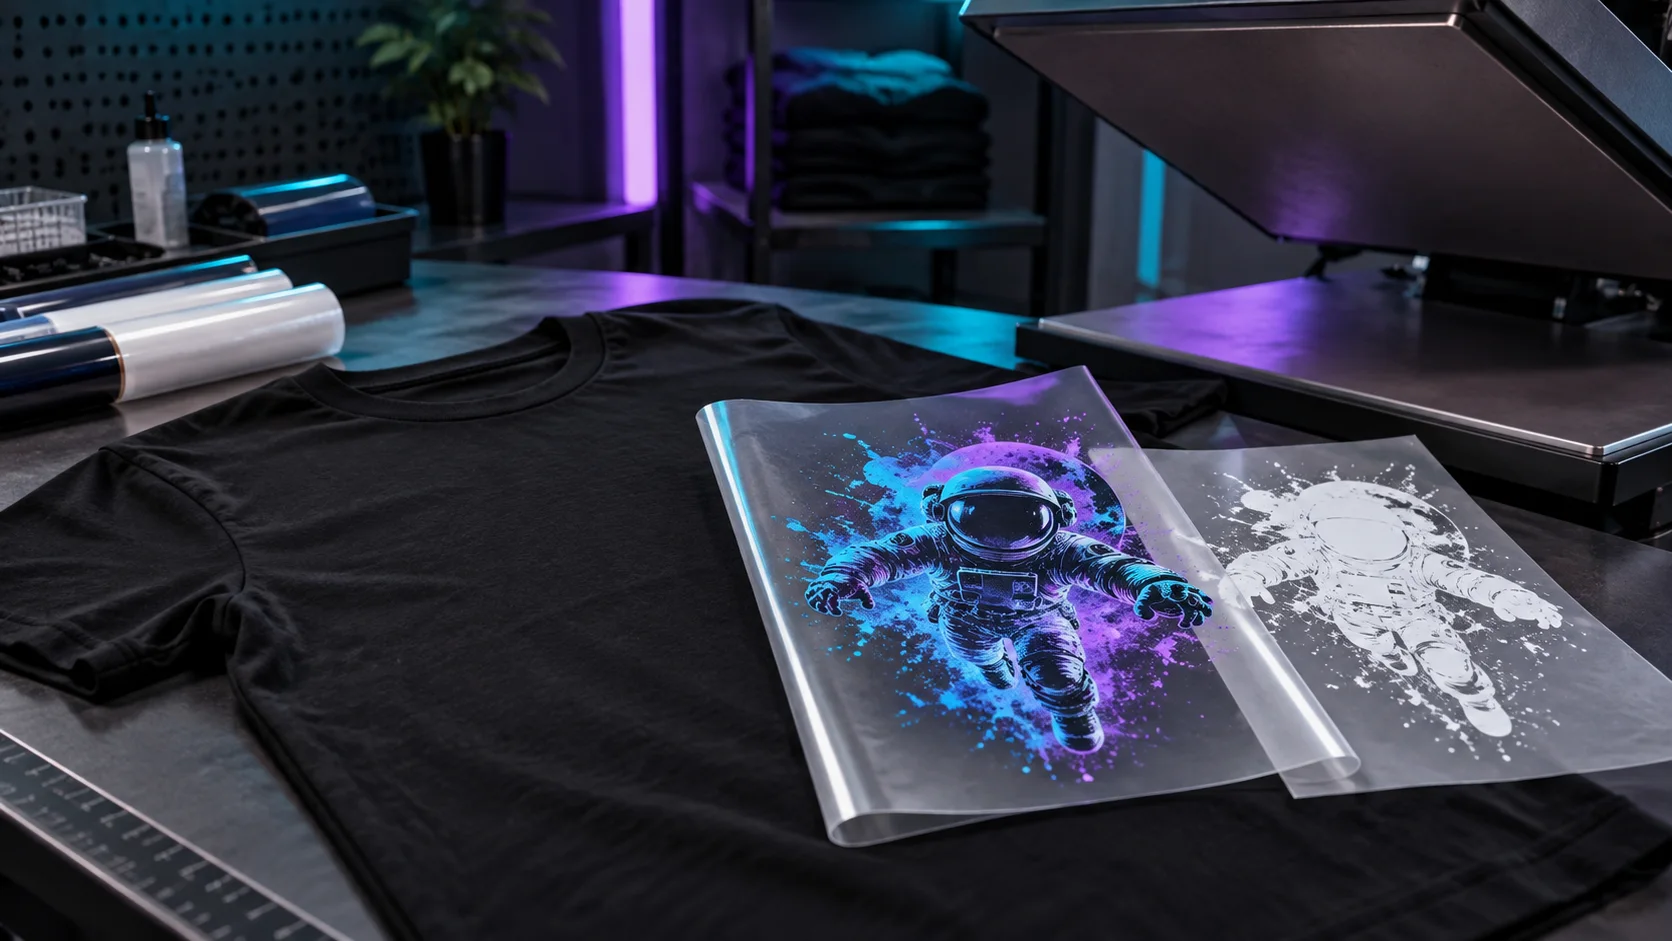
WhiteLayer Studio knowledge
Check artwork, output and machine in that order
Keep the failed file and record substrate, system and settings. Change only one factor per test so the effect remains measurable.
Compare source, color page and white page at the same zoom. If pages are already offset or scaled differently, the problem exists before printing. If they match, inspect RIP, transport, material and process.
White halo or visible outline
The underbase extends beyond the color or the pages are not registered. Check geometry and print scaling before increasing choke.
- Test actual size instead of fit-to-page
- Verify identical coordinates
- Do not hide mechanical offset with extreme choke
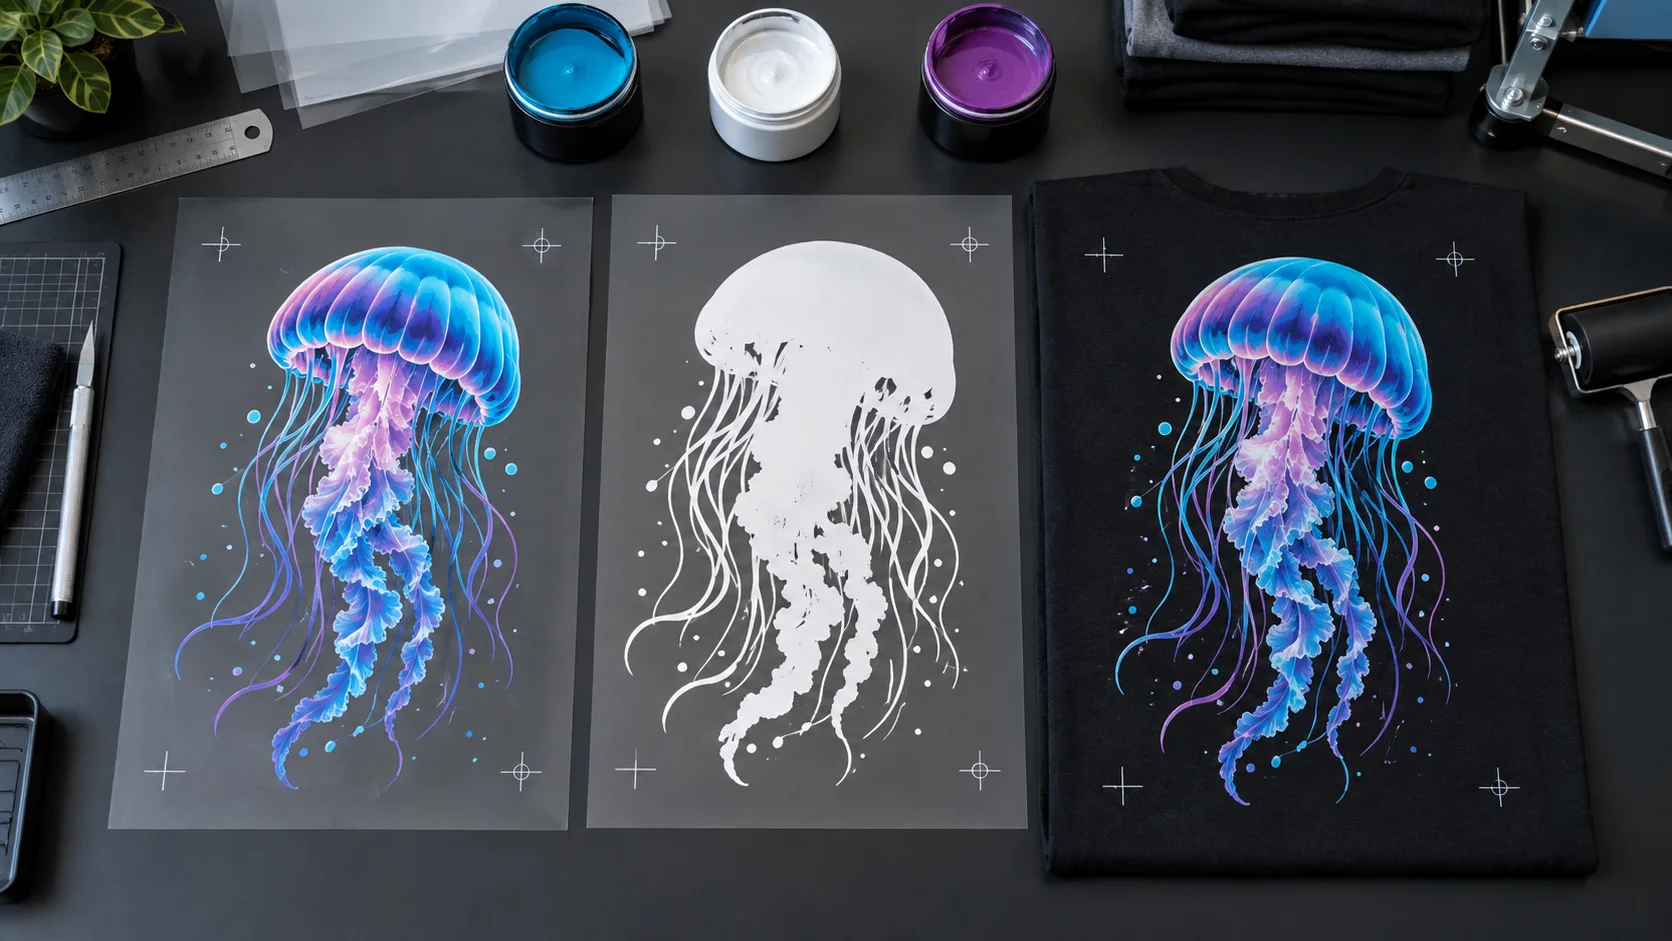
Colors look dull or transparent
Possible causes include insufficient white coverage, an unsuitable tonal value, gaps in the mask or a different substrate. Compare white coverage with artwork opacity and run a documented test series.
Fine lines, type or shadows disappear
Small or transparent areas can be removed by cleanup, thresholds, choke or scaling. Inspect the source at final size and reduce one suspected intervention at a time.
- Check effective resolution
- Inspect counters and negative shapes
- Do not force every transparent area to solid
The white page is blank, inverted or mirrored incorrectly
Verify that transparency exists, which areas are interpreted as white and whether mirroring is applied identically to both pages. White in the color artwork is not automatically separate white information.
The file is correct but print registration fails
If PDF geometry matches, inspect the downstream process: RIP scaling, page rotation, feed, substrate movement and the required print order.
Workflow
Step by step
-
01
Capture the failure
Record file, substrate, profile and relevant settings.
-
02
Inspect the source
Check transparency, edges, small elements and final output size.
-
03
Compare PDF pages
Measure size, scale, orientation and position.
-
04
Inspect the white mask alone
Check coverage, choke, gaps, tones and inversion.
-
05
Change one variable
Create and label one small test variant.
-
06
Document the approved result
Save the successful combination as a repeatable production standard.
FAQ
Frequently asked questions
What causes a white outline around artwork?
The underbase usually extends too far or is not registered with color. Check page geometry and print scaling before choke.
Why is color dark despite an underbase?
Coverage may be too low or incomplete, while substrate and machine profile also affect output. A controlled test series isolates the cause.
Why does the preview differ from the print?
A screen cannot fully simulate toner opacity, substrate color or RIP processing. Production approval therefore needs a test print.
Should I change several settings at once?
No. Change one factor per test so you can identify whether choke, tone, scaling or process caused the result.
WhiteLayer Studio knowledge
Sources and technical references
- OKI – White & Clear Print Guide Manufacturer guidance on white definition and output.
- Ghost White Toner – Toner Transfer Guide White-toner transfer workflow guidance.