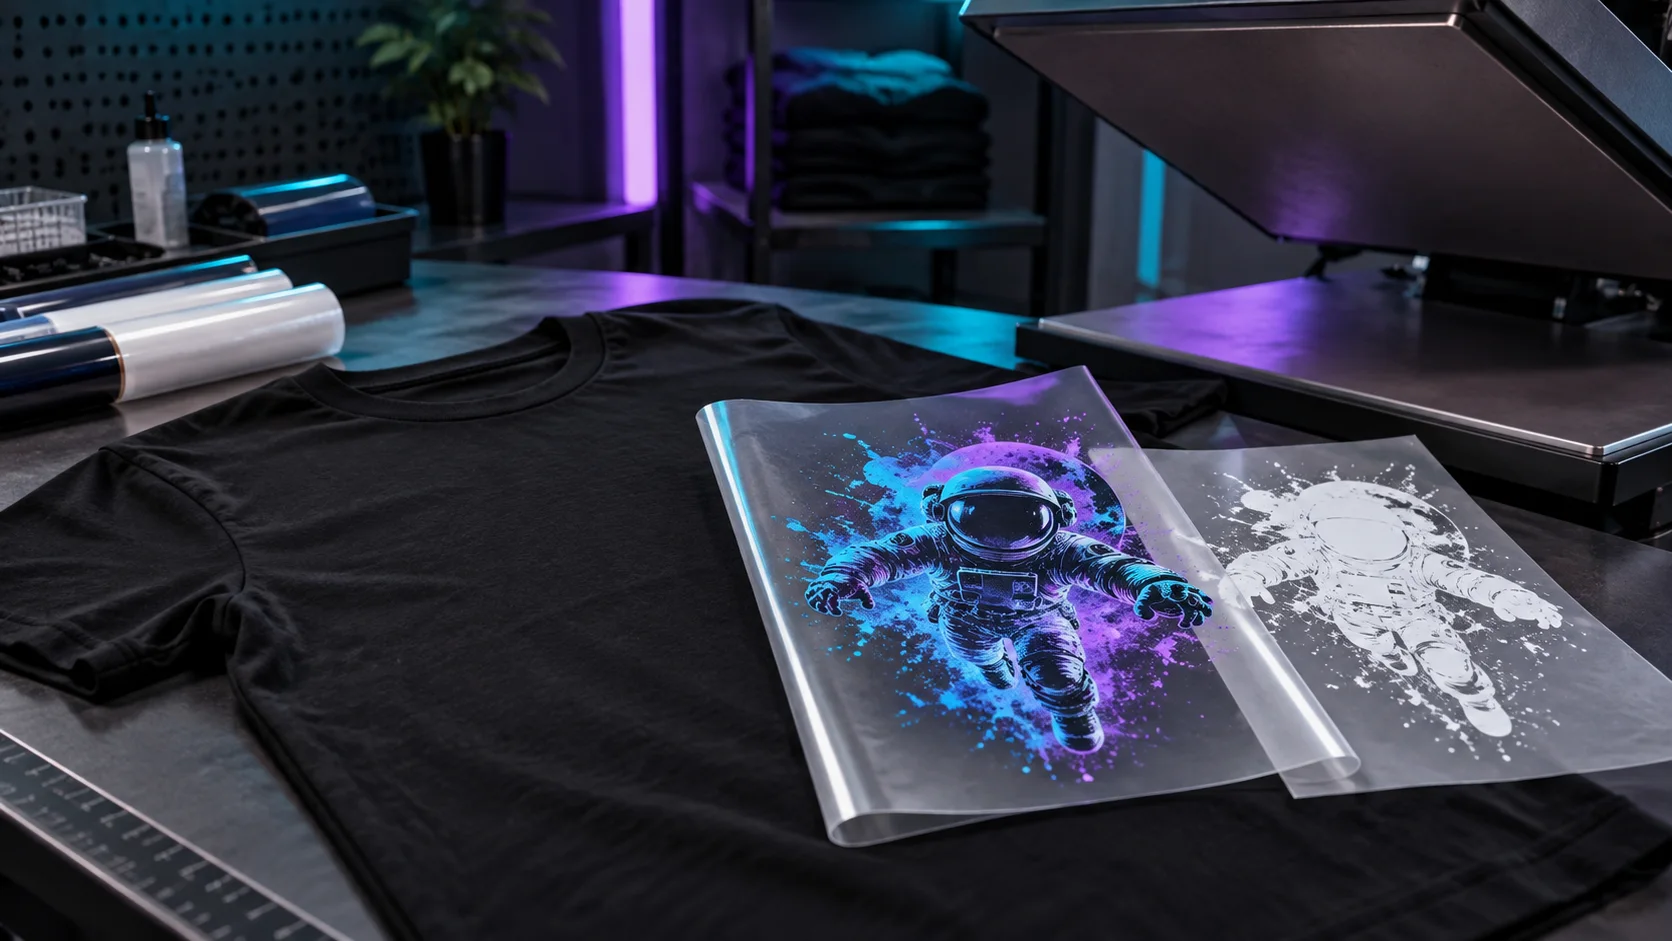
WhiteLayer Studio knowledge
Before you start: ask the print provider
Confirm file format, page size, resolution, mirroring, color requirements and page order. White density and underbase choke vary between production systems.
Start with clean transparent artwork. Effective resolution helps preserve edges and detail but does not replace a production check. Pay special attention to small type, fine lines and soft shadows.
1. Inspect transparency and edges
View artwork on both light and dark backgrounds. Unwanted halos, residual background pixels and faint shadows can otherwise become part of the white mask.
2. Derive the mask from opacity
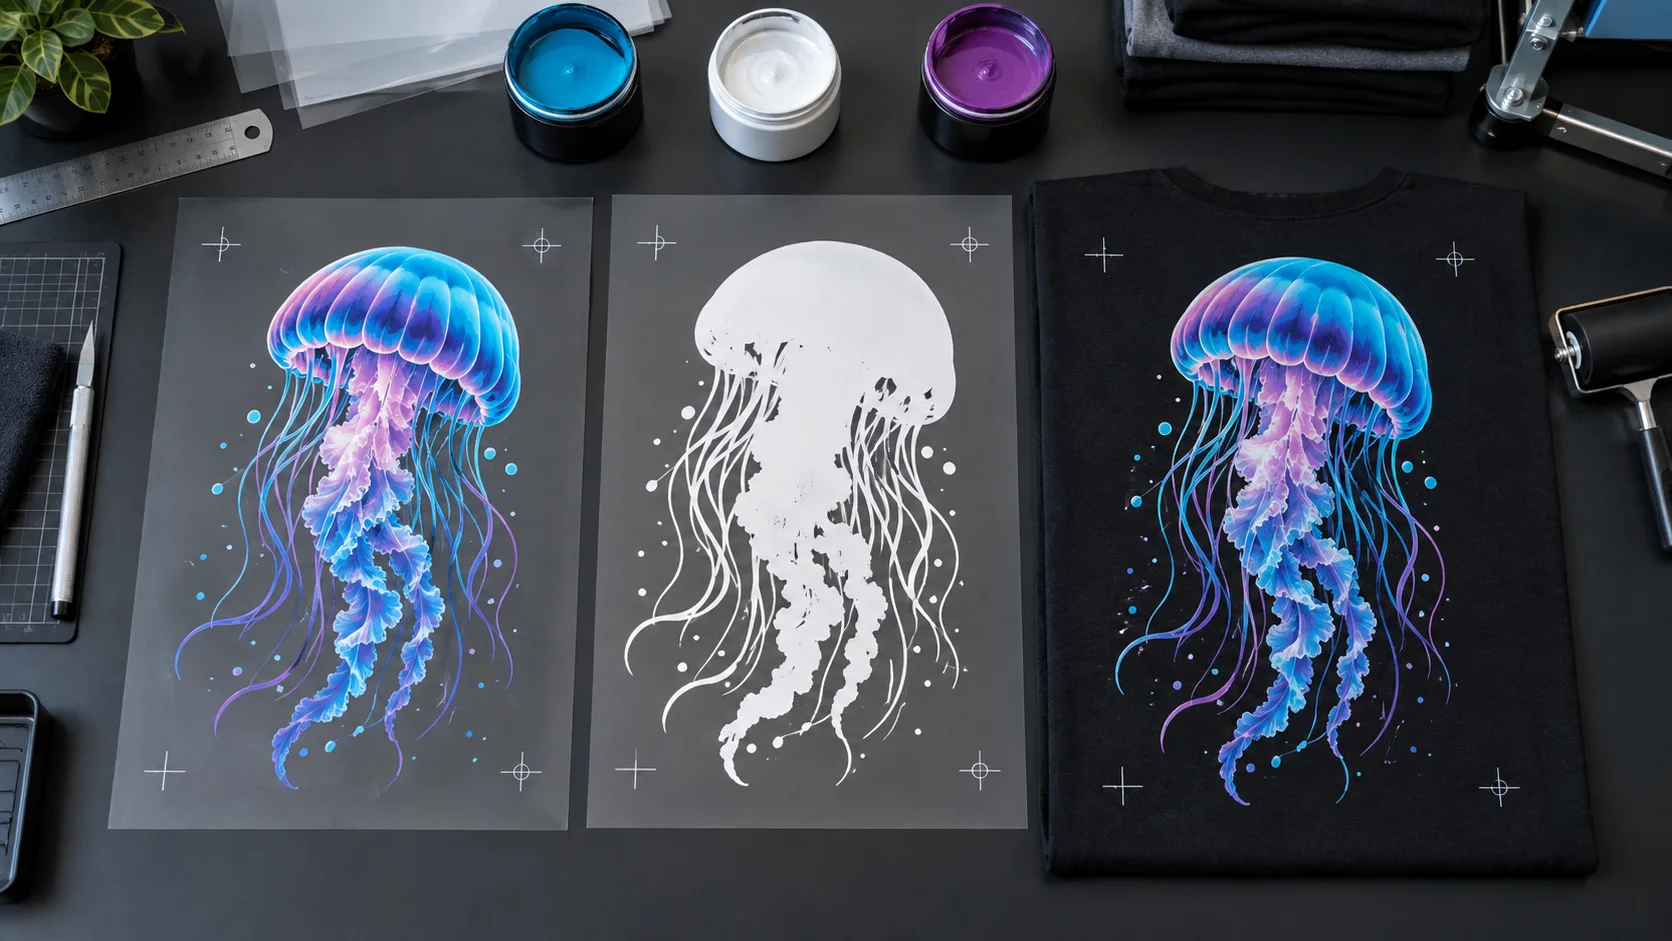
Alpha transparency is a practical starting point: opaque areas receive more white, transparent areas less or none. Your process may require either a solid mask or tonal grayscale information.
3. Set the white edge deliberately
A slight choke can prevent the underbase from showing. Too much reduction weakens edge colors and fine details.
- Protect fine lines from excessive reduction.
- Inspect translucent gradients separately.
- Check holes and internal negative spaces.
4. Match position and page size
Both pages must share size, orientation and artwork coordinates. Any unintended scaling between pages creates registration errors.
5. Inspect the exported PDF
Open it in an independent viewer and verify page count, size, orientation and the separate White Layer.
6. Document a test print
Record material, system, settings and result to create a repeatable standard.
Workflow
Step by step
-
01
Load the file
Use clean transparent PNG, SVG or suitable PDF artwork.
-
02
Analyze the artwork
Use opacity, white coverage and edge analysis as starting values.
-
03
Compare previews
Inspect original, color preview and white channel separately.
-
04
Set production values
Choose page size, DPI, orientation, white value and edge.
-
05
Create the two-page PDF
Export color and White Layer in exact registration.
-
06
Confirm with production
Check against provider requirements and produce a test first.
FAQ
Frequently asked questions
Which source format works best?
Transparent PNG and SVG are often suitable. PDF can work when transparency and embedded content are interpreted correctly. Clean isolation is the key requirement.
What resolution do I need?
It depends on output size and process. For raster artwork, effective resolution at final print size matters. Confirm the target with production.
Should the white page be mirrored?
That depends on the process. Transfer workflows may require mirroring. Treat both pages consistently according to the provider’s specification.
Why are fine details missing?
Very transparent or narrow areas can disappear through thresholds, choking or scaling. Inspect them closely and reduce aggressive settings.